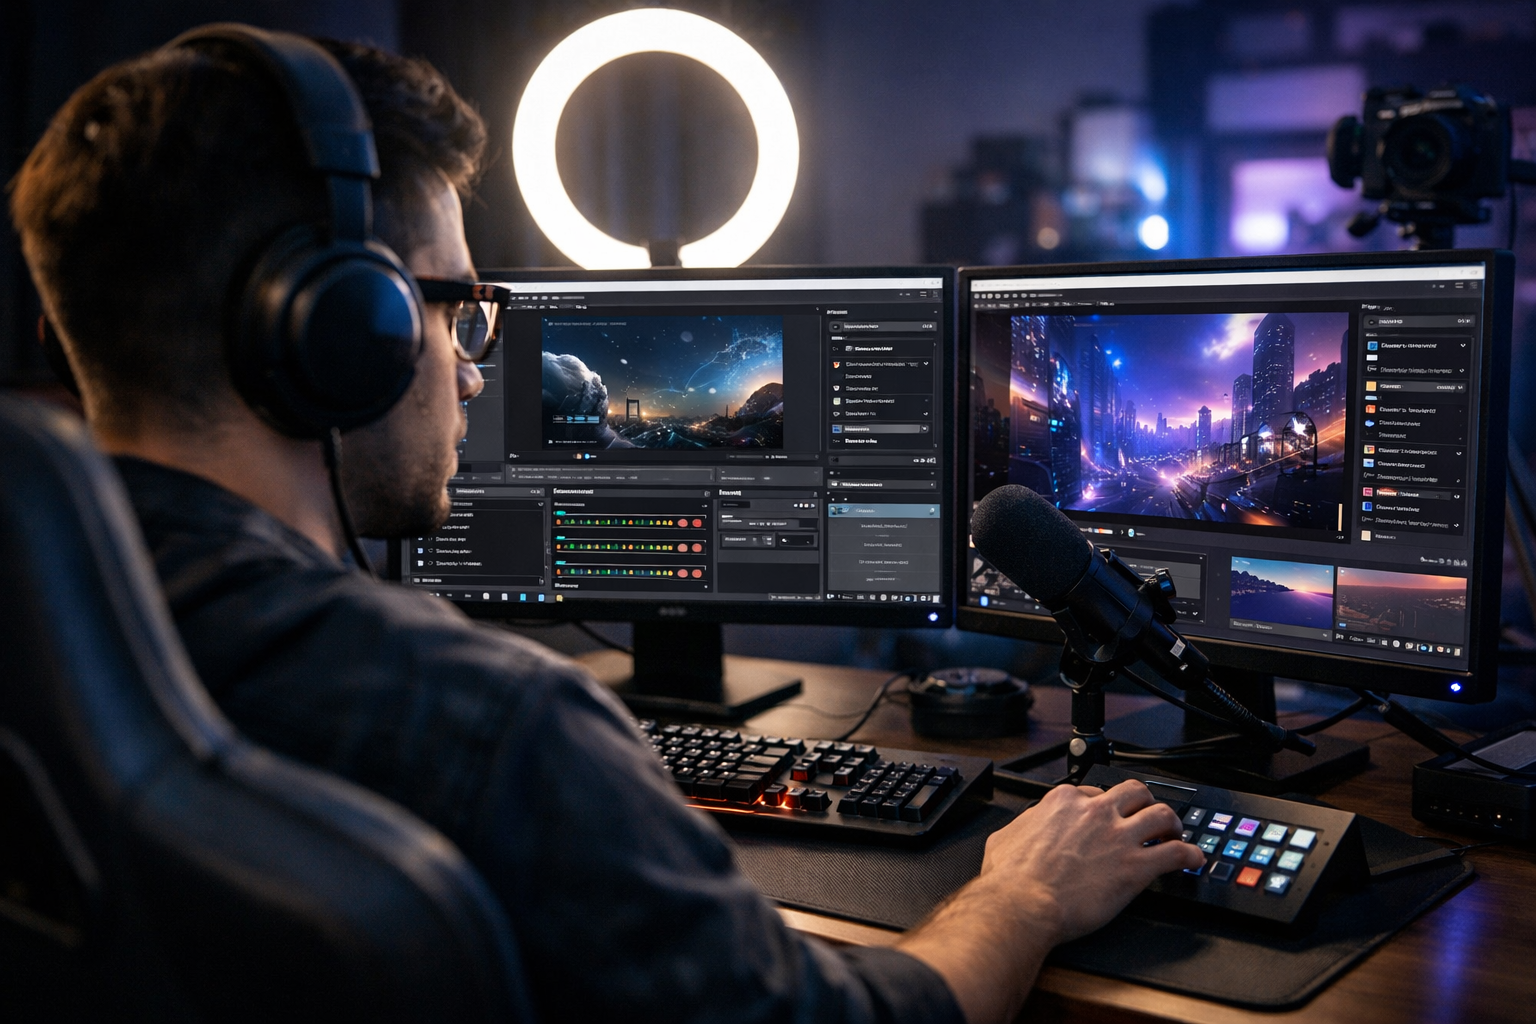
What you need (OBS + stream server details)
OBS Studio is your production switcher—camera, mic, overlays, audio routing, recording, and live encoding. To actually reach listeners/viewers reliably, you also need a stream server (Shoutcast or Icecast) that distributes your stream to unlimited listeners with stable uptime.
Checklist before you start
- OBS Studio (latest version)
- A Shoutcast or Icecast server (hosted so you don’t run it from your laptop)
- Stream credentials: server host, port, mount (Icecast), password (or source password), and stream format (MP3/AAC)
- Audio devices: microphone, mixer/interface (optional), headphones
- Video sources (optional): webcam, capture card, NDI source, or screen capture
- Internet upload: stable upload speed that matches your bitrate with headroom
Get your stream server details from Shoutcast Net
If you’re streaming radio, podcasts, school announcements, church services, or live events, a dedicated stream server is the difference between “it works on my computer” and “it works for everyone.” With Shoutcast Net you get flat-rate pricing starting at $4/month, unlimited listeners, SSL streaming, and 99.9% uptime—without Wowza’s expensive per-hour/per-viewer billing.
Start with a 7 days trial, then choose Shoutcast hosting or Icecast hosting depending on your workflow.
Shoutcast vs Icecast (quick decision)
| Use case | Choose | Why |
|---|---|---|
| Traditional radio DJ stream, broad player compatibility | Shoutcast | Classic radio ecosystem, easy distribution, proven compatibility |
| Mount-based streams, flexible setups (multiple mounts) | Icecast | Mount points for different feeds (e.g., main + mobile + backup) |
| Need hands-off scheduling when you’re off-air | Either + AutoDJ | AutoDJ keeps you live 24/7 with playlists |
Important note: OBS is mainly designed for video platforms, but with the right output and a proper host, it can be part of a pipeline that helps you stream from any device to any device—including embedding players on your site, sharing direct stream links, and distributing to apps.
Pro Tip
Before touching OBS, log into your Shoutcast Net service and copy your Server IP/Host, Port, and Password (plus Mount if Icecast). Paste them into a note so you don’t break your flow mid-setup.
Ready to start? Grab a plan in the shop or activate your 7 days trial.
Step 1–2: Install OBS and set video/audio basics
Step 1: Install (or update) OBS the right way
Download OBS Studio from the official OBS site and install it. If you already have OBS, update it first—2026 workflows depend on consistent encoder behavior, updated audio routing, and bug fixes.
- Open OBS → Help → Check for Updates
- Restart OBS after updating
- Install GPU drivers (NVIDIA/AMD/Intel) for best encoder stability
Step 2: Set base video + audio configuration (even for “audio-only” streams)
Even if you’re mainly doing radio/podcasts, OBS still uses video settings internally. Setting a sensible base resolution and FPS reduces CPU usage and prevents weird sync drift.
Recommended baseline settings (safe defaults)
- Settings → Video:
- Base (Canvas): 1280×720 (or 1920×1080 if you truly need it)
- Output (Scaled): 1280×720
- FPS: 30 (church/live events) or 60 (fast motion)
- Settings → Audio:
- Sample Rate: 48 kHz (video workflows) or 44.1 kHz (radio/music)
- Channels: Stereo
- Set Desktop Audio & Mic/Aux to the devices you actually use
Audio hygiene that prevents “why does it sound bad?”
Most stream issues blamed on servers are actually source audio issues. Before you go further:
- Use headphones to avoid feedback loops
- In OBS mixer, keep peaks around -6 dB (avoid red clipping)
- Add filters (optional): Noise Suppression, Compressor, Limiter
This foundation helps you produce clean output whether you’re broadcasting a DJ set, a weekly sermon, a live sports stream for school, or a podcast recording session.
Pro Tip
If your goal is audio-first streaming, keep the OBS canvas at 1280×720 @ 30fps. Lower video complexity reduces CPU load and preserves audio stability—especially on laptops at events.
Pair OBS with Shoutcast Net’s unlimited listeners and SSL streaming so your audience can tune in securely from anywhere.
Step 3–4: Build scenes/sources for DJ, podcast, or church
Step 3: Create scenes (think “show formats”)
Scenes are presets. Create a few scenes that match how you actually go live, so switching is instant and you don’t fumble mid-broadcast.
Recommended scene list by broadcaster type
- Radio DJ / Music stream:
- DJ Cam + Now Playing
- Full-screen Album Art / Visualizer
- Break Screen (Be Right Back)
- Podcast:
- Host + Guest (side-by-side)
- Host Fullscreen
- Topic Slides / Screen Share
- Church / School / Live events:
- Wide Shot (stage/altar)
- Close Shot (speaker)
- Lyrics / Slides
- Lobby/Countdown
Step 4: Add sources (video, audio, graphics) and keep them organized
In each scene, click + under Sources and add only what you need. Name everything clearly (e.g., “Cam - Pulpit”, “Mic - Wireless”, “Slides - HDMI”).
Common sources you’ll use
- Video Capture Device (webcam/capture card)
- Audio Input Capture (mic, mixer interface)
- Audio Output Capture (system audio/music playback)
- Display Capture / Window Capture (slides, DAW, playlist software)
- Image / Media Source (logo, lower-third, intro video)
- Browser Source (chat overlays, now-playing widgets)
Set up clean audio routing (avoid doubling)
The #1 OBS mistake: capturing the same audio twice (desktop audio + interface monitor), causing echo/comb filtering. Keep it simple:
- If your mixer/interface is your main hub, capture only the interface in OBS and disable Desktop Audio.
- If you’re doing simple voice + music from the same PC, use Desktop Audio + Mic, but confirm nothing is captured twice.
Once scenes are built, you’re ready for the part that determines stability: encoder + bitrate. This is where flat-rate hosting matters—Shoutcast Net doesn’t punish success with Wowza-style per-hour/per-viewer billing.
Pro Tip
Duplicate scenes instead of rebuilding them. For example, copy “Wide Shot” into “Wide Shot (Lower Third)” and only add the graphic. You’ll keep consistency across your broadcast and reduce mistakes under pressure.
Want 24/7 uptime even when OBS is off? Add AutoDJ so your station never goes silent.
Step 5: Output settings (encoder, bitrate, keyframe)
Your output settings decide three things: quality, stability, and latency. If you want very low latency 3 sec (when your platform and workflow support it), you must keep your encode efficient and your network consistent.
Choose an encoder (NVENC, QuickSync, AMF, or x264)
- NVENC (NVIDIA): best balance for most streamers; low CPU load
- QuickSync (Intel): great on modern Intel iGPUs
- AMF (AMD): solid on newer AMD GPUs
- x264 (CPU): use only if you have strong CPU headroom
Recommended video bitrate targets (starting points)
Match bitrate to your upload speed (keep at least 30–50% headroom). Use these as starting points:
| Resolution / FPS | Bitrate (kbps) | Best for |
|---|---|---|
| 720p @ 30 | 2500–4000 | Church, podcasts, school announcements |
| 720p @ 60 | 3500–5500 | Music streams with motion graphics, sports |
| 1080p @ 30 | 4500–6500 | Higher-detail cameras, stage shots |
| 1080p @ 60 | 6000–9000 | Fast action (if your upload can handle it) |
Keyframe interval + rate control
Most platforms and relays prefer a keyframe interval of 2 seconds. In OBS:
- Settings → Output → Streaming
- Rate Control: CBR (more stable for live)
- Keyframe Interval: 2
- Preset: Quality (raise/lower based on CPU/GPU load)
Audio bitrate + codec suggestions
For radio/music, audio quality is the product. Use:
- 128 kbps AAC for talk/podcasts (clean + efficient)
- 192–320 kbps MP3/AAC for music-forward stations
- Keep sample rate consistent end-to-end (44.1k or 48k)
Why hosting matters for stability (and your budget)
This is where Shoutcast Net wins in real life. You can scale to more listeners without worrying about Wowza’s expensive per-hour/per-viewer billing. Shoutcast Net is flat-rate, starting at $4/month and scaling with simple plans (including popular flat tiers like $16), with unlimited listeners on supported packages and reliability built for 24/7 broadcasting.
Pro Tip
If you’re seeing dropped frames, don’t immediately lower resolution—first try changing encoder preset (e.g., Quality → Performance) and confirm you’re not maxing out your upload. Stable bitrate + consistent keyframes makes relays and players happier.
Need a reliable station backbone? Start your 7 days trial and lock in predictable pricing.
Step 6–7: Connect OBS to Shoutcast Net (Shoutcast/Icecast)
OBS doesn’t natively “broadcast Shoutcast” the same way old-school DSP tools do, but you can still build a modern pipeline with OBS as your production hub and Shoutcast Net as your distribution layer. This is how you stream from any device to any device—because the server is the always-on middle that listeners connect to.
Step 6: Pick your connection method (two reliable options)
Choose the method that matches your workflow and skill level:
- Option A (Most common): OBS → RTMP endpoint → Shoutcast Net distribution (great for video-first events and “Restream to Facebook, Twitch, YouTube” workflows).
- Option B (Audio-first): OBS → local encode → source client to Shoutcast/Icecast (best if your priority is pure audio radio compatibility).
Step 7A: OBS streaming settings for RTMP-style publishing
In OBS go to Settings → Stream and choose a Custom service (or the service your workflow requires). Then enter the server URL and stream key provided by your workflow endpoint.
OBS → Settings → Stream
Service: Custom...
Server: rtmp://YOUR-ENDPOINT-HOST/app
Stream Key: YOUR_STREAM_KEY
From there, Shoutcast Net acts as the reliable listener-facing distribution layer—so you’re not limited by “legacy Shoutcast-only” thinking. The goal is reach and stability, not being stuck in old constraints.
Step 7B: Audio-first connection details (Shoutcast / Icecast)
If your primary output is audio (radio/podcasts), you’ll typically publish to Shoutcast/Icecast with a compatible source client using your Shoutcast Net credentials. You’ll need:
- Host (server address)
- Port
- Password (source password)
- Mount (Icecast, e.g.,
/live) - Format (MP3 or AAC)
Example (Icecast)
Host: stream.yourdomain.com
Port: 8000
Mount: /live
Username: source
Password: YOUR_SOURCE_PASSWORD
Codec: AAC
Audio Bitrate: 128-192 kbps
Example (Shoutcast)
Host: stream.yourdomain.com
Port: 8000
Password: YOUR_SOURCE_PASSWORD
Codec: MP3
Audio Bitrate: 192-320 kbpsWhy Shoutcast Net beats “DIY + legacy limits” (and beats Wowza pricing)
Self-hosting a stream server sounds cheap until you need SSL, uptime, listener scaling, and support. And enterprise stacks can get pricey fast—especially with Wowza’s expensive per-hour/per-viewer billing. Shoutcast Net keeps it simple: $4/month starting price, popular flat tiers like $16, 99.9% uptime, SSL streaming, and unlimited listeners on supported plans.
Bonus: Multi-platform reach without the chaos
If you want to Restream to Facebook, Twitch, YouTube while also serving your website/app listeners via Shoutcast Net, design your workflow like a hub-and-spoke: OBS produces once; endpoints distribute everywhere. That’s how modern broadcasters win in 2026.
And when you need to bridge formats and destinations across modern setups, you’re aiming for the bigger promise: any stream protocols to any stream protocols (RTMP, RTSP, WebRTC, SRT, etc)—so your content isn’t trapped by a single platform.
Pro Tip
Keep a “primary” and “backup” publish path. For example, run your main show from OBS and keep AutoDJ scheduled as your fallback so your station stays live if your laptop reboots or your venue Wi‑Fi drops.
Launch fast with a 7 days trial and upgrade only when you’re ready.
Step 8–10: Test, monitor, and go live reliably
Step 8: Do a full “offline” test recording first
Before going live, test like a pro: record locally for 2–5 minutes with the same scenes, sources, and audio you’ll use live. This isolates production issues from network issues.
- OBS → Start Recording
- Talk into the mic, trigger transitions, play a music bed, show slides
- Stop and review: audio levels, sync, stutters, scene mistakes
Step 9: Run a private/low-stakes live test and monitor stats
Now do a short live test. While live, watch two dashboards: your OBS stats and your stream server stats. In OBS, keep an eye on:
- Dropped Frames (Network) → indicates upload instability
- Skipped Frames (Encoding Lag) → indicates CPU/GPU overload
- Bitrate → should stay steady (CBR)
On the listener side, test playback from a different device on a different connection (phone on cellular is ideal). That validates the real-world promise: stream from any device to any device.
Step 10: Lock in reliability (checklist for real broadcasts)
- Hardwire Ethernet whenever possible (avoid venue Wi‑Fi)
- Disable OS sleep/power saving
- Close auto-updaters and cloud sync during the show
- Use a consistent scene order and hotkeys
- Have a backup audio source ready (playlist, spare mic)
- Keep your stream server credentials secured and documented
Troubleshooting quick wins
If something goes wrong mid-stream, these fixes solve most issues fast:
- Audio clipping: lower gain, add a limiter, keep peaks around -6 dB
- Echo/doubling: remove duplicate audio captures (desktop + interface)
- Dropped frames: reduce bitrate by 15–25%, switch to wired internet, or change ingest endpoint
- Encoding lag: switch encoder preset to Performance, reduce FPS, simplify overlays
Why Shoutcast Net is the “set it and forget it” distribution layer
Once OBS is configured, your growth depends on distribution. Shoutcast Net is built for broadcasters who need SSL streaming, 99.9% uptime, and scaling without surprise bills. Unlike Wowza’s expensive per-hour/per-viewer billing, Shoutcast Net stays predictable with flat-rate plans (starting at $4/month, with popular tiers like $16) and features like AutoDJ to keep you live 24/7.
Go-live checklist (copy/paste)
[ ] OBS updated + drivers current
[ ] Scenes organized + sources named
[ ] Audio peaks ~ -6 dB (no red)
[ ] Encoder chosen (NVENC/QSV/AMF) + CBR set
[ ] Keyframe interval = 2
[ ] Bitrate fits upload with headroom
[ ] Test recording reviewed
[ ] Live test validated from a second device
[ ] Shoutcast Net server details saved
[ ] AutoDJ fallback scheduled (optional)
When you’re ready, start your 7 days trial, choose your plan in the shop, and publish with confidence—radio, podcasts, church, school, or live events.
Pro Tip
For mission-critical streams (church services, graduations, ticketed events), run a 10-minute pre-show “countdown” scene. It gives you time to confirm audio, check chat, and stabilize your connection—without the audience missing content.
Build your broadcast on a platform designed for scale: Shoutcast hosting or Icecast with predictable flat-rate pricing.