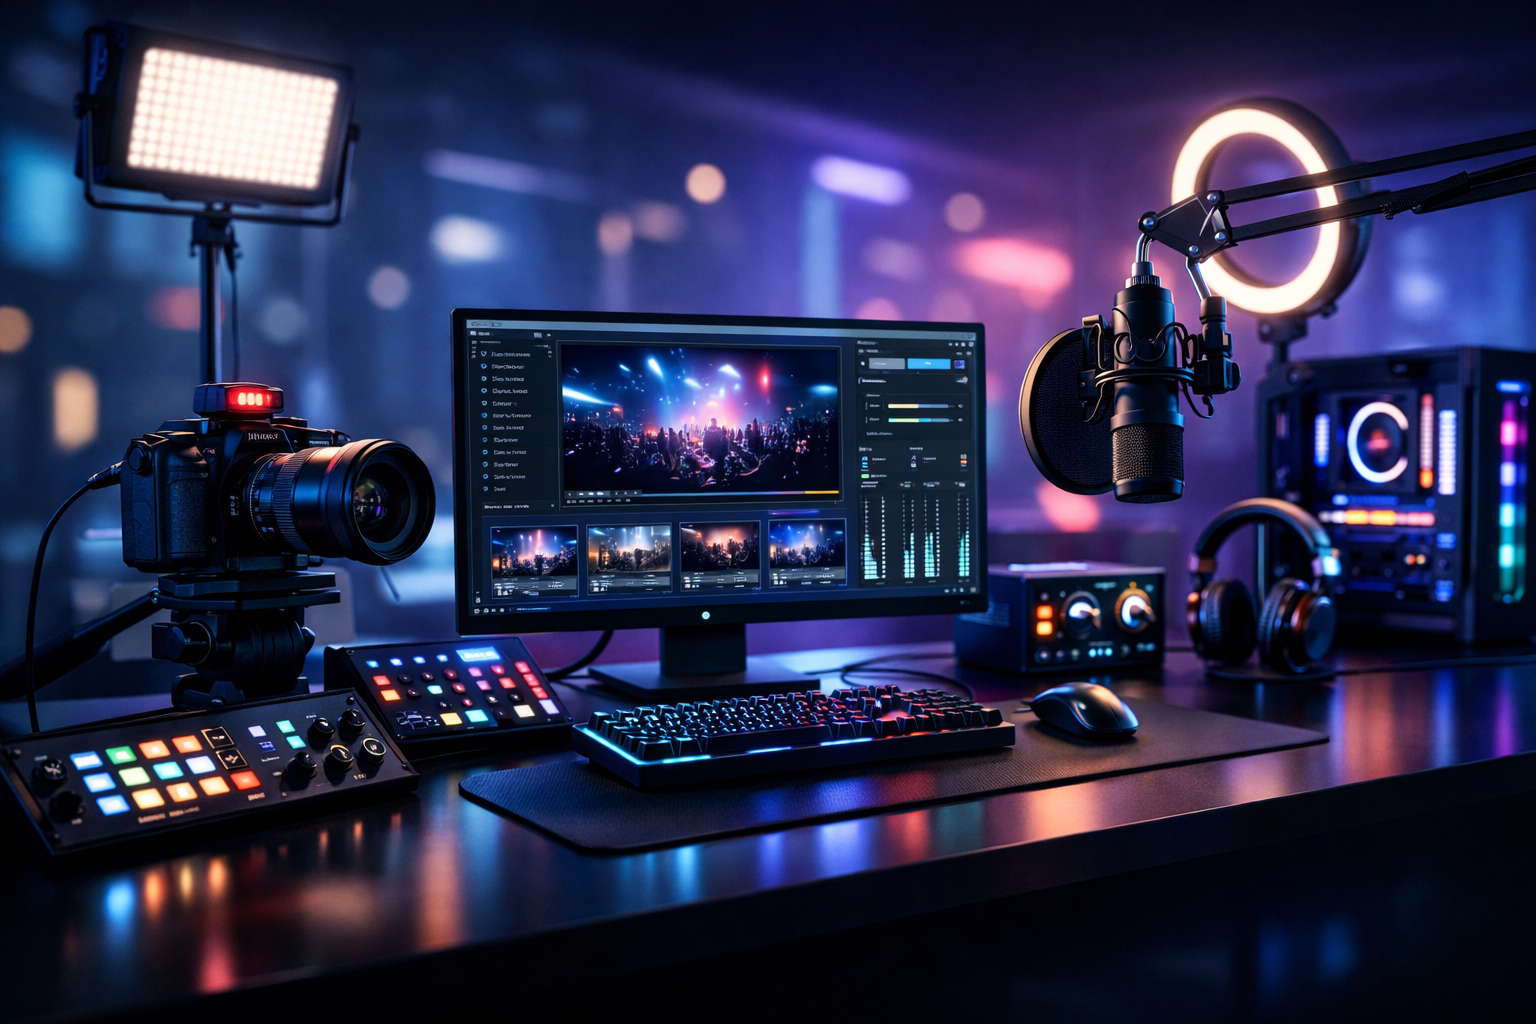
Essential Live Streaming Equipment for Beginners Under $1000 (Live Streaming Equipment Checklist)
You don’t need a $5,000 studio to sound professional on air. Whether you’re a radio DJ, music streamer, podcaster, church broadcaster, school radio station, or live event streamer, this checklist focuses on beginner-friendly live streaming equipment that gets you on the air with clean audio, stable streaming, and room to grow—while keeping the total budget under $1000.
Below is a ranked, practical setup path: start with what affects quality most (mic + clean gain), then monitoring, then optional video, then accessories, and finally the software + hosting piece that determines whether your stream is actually reliable.
Quick Budget Map (Under $1000)
- Mic: $70–$200
- Interface or mixer: $100–$250
- Headphones: $50–$150
- Camera + light (optional): $100–$300
- Stands/cables/acoustics: $40–$150
- Hosting: from $4/month with unlimited listeners
Table of Contents
Goal for beginners
Prioritize intelligibility (speech clarity) and stability (no dropouts). A “good enough” camera is fine—bad audio is not.
1) Best Starter Microphones (Under $200)
If you can only upgrade one thing, upgrade the microphone. For radio DJs, podcasters, church narration, school announcements, and live event commentary, the mic determines whether listeners perceive your stream as “professional” or “distant and noisy.” Under $200, your best path is choosing between dynamic mics (better in untreated rooms) and condenser mics (more detail, but more sensitive to echo and background noise).
What to buy first (ranked)
- Dynamic XLR mic for untreated rooms: strong rejection of room reverb, fans, and crowd noise.
- USB mic for fastest setup: great for solo beginners, fewer cables, but less upgrade flexibility.
- Condenser XLR only if you can control your room: adds crispness, but reveals echo.
A few reliable “starter tier” picks that regularly fall under $200: Audio-Technica ATR2100x-USB (USB + XLR flexibility), Samson Q2U (value classic for podcasts), and dynamic XLR staples like the Shure SM58 for live event streaming. If your content is music-heavy (DJ sets, performances), prioritize a mic that handles loud sources without harshness. For speech, prioritize a mic that stays full even when you’re close (good proximity effect control) and doesn’t exaggerate sibilance.
Pro Tip
Before you “fix it in software,” fix it at the source: speak 2–4 inches off-axis from the mic, use a pop filter, and set consistent distance. You’ll need less compression and your stream will sound louder and cleaner at the same bitrate.
If you’re shopping gear, start with microphones and essentials in our shop. Just remember: the mic choice should match your environment. A dynamic mic plus basic acoustic fixes (covered below) often outperforms an expensive condenser in a reflective room.
2) Audio Interface vs Mixer: What You Actually Need
Once you have a good mic, the next question is how to connect it. Beginners often buy too much hardware—or the wrong kind. The simple rule: if you’re mostly streaming one mic (plus maybe a music bed from your PC), an audio interface is usually the cleanest, easiest upgrade. If you need multiple mics, live music inputs, or you want hands-on faders for a church or school radio desk, a mixer can be the better fit.
Interface vs Mixer (practical comparison)
| Need | Audio Interface | Mixer |
|---|---|---|
| Best for | Solo DJ/podcaster, clean voice, simple routing | Church panels, school stations, multi-guest shows, live events |
| Setup complexity | Low | Medium |
| Sound quality per dollar | Usually higher | Varies (good when you need features) |
| Typical beginner budget | $100–$200 | $120–$250 |
| Number of mics | 1–2 common | 2–8+ common |
For live streaming speech, look for quiet preamps and enough gain for dynamic mics. If you find yourself turning gain to max and still sounding quiet, you may need a higher-gain interface or an inline booster (covered in accessories). For DJs and music streamers, make sure your interface or mixer can accept stereo sources cleanly (line inputs) and won’t clip when your DJ controller is loud.
Pro Tip
If you’re doing remote guests, don’t overcomplicate it with hardware. Use your interface for the mic, then route guest audio from your PC into your encoder via a virtual mixer. Keep the physical chain simple, and your troubleshooting becomes 10x easier during a live show.
Bottom line: buy the smallest device that supports your show format today, with one step of growth tomorrow. That keeps you under $1000 while still sounding like a real station.
3) Headphones & Monitoring for Clean Audio
Monitoring is how you catch problems before your audience does. For radio DJs and school stations, headphones prevent feedback and keep your mic from re-capturing the stream audio. For church broadcasters and live event streamers, monitoring helps you avoid sudden distortion when the room gets louder. For podcasters, monitoring keeps levels consistent across hosts and guests.
What matters in streaming headphones
- Closed-back design: minimizes bleed into the microphone.
- Comfort for long sessions: you’ll wear them for hours.
- Honest sound: avoid exaggerated bass that hides clipping or plosives.
- Replaceable pads/cable: saves money over time in station environments.
Solid beginner choices often land under $150: Audio-Technica ATH-M20x/M30x, Sony MDR-7506 (a broadcast classic), and closed-back studio models from Sennheiser and AKG when on sale. Pair headphones with a simple monitoring workflow: set your interface/mixer output so you can hear your mic clearly without cranking volume, then keep an eye on your encoder meters to confirm you’re not peaking.
A beginner monitoring routine
- Aim for -12 dB to -6 dB average on voice with occasional peaks.
- Listen for room echo, plosives (“P” pops), and harsh “S” sounds.
- Check your stream on a phone using cellular data—real listeners do.
Pro Tip
Don’t monitor with Bluetooth earbuds. Latency and compression can trick you into over-processing. Use wired closed-back headphones so what you hear matches what you’re actually sending to the stream.
Clean monitoring also supports your branding: when your voice is stable and consistent, your station sounds bigger—even at modest bitrates.
4) Camera, Lighting & Backdrop (Optional but Powerful)
If you’re strictly doing audio (internet radio, audio-only podcasts), you can skip this section and stay well under budget. But if you want to Restream to Facebook, Twitch, YouTube, adding basic visuals can dramatically increase watch time and discoverability—especially for DJs, church services, and live event streaming.
Best value video upgrades under a beginner budget
- 1080p webcam with reliable autofocus (simple, plug-and-play).
- Used mirrorless camera + capture card (better image, more setup).
- LED key light (the biggest quality jump for the money).
- Simple backdrop (curtain, acoustic panels, or a clean wall + branding).
Lighting beats camera specs for beginners. A $60–$120 LED key light positioned slightly above eye level will make a basic webcam look “studio.” If you’re streaming DJ sets, a second light or small RGB accent can add energy without distracting from the music. For church and school broadcasts, prioritize even, flattering lighting that keeps faces visible without flicker.
Finally, think about your “set.” A tidy background, a banner, or a small station logo sign improves credibility. If you’re concerned about privacy or clutter, a backdrop is an easy fix. This is the optional layer that helps your stream look legitimate while keeping your core audio chain simple.
Pro Tip
Set your camera first, then lock exposure/white balance where possible. Auto settings can “pulse” during a live set when screens flash or stage lights change, making your stream look amateur even if your audio is great.
If you want a reliable path to multi-platform visuals while keeping your audio quality broadcast-ready, combine a basic camera + light with solid hosting (see section 6) so your audience experiences fewer dropouts and consistent playback.
5) Must-Have Accessories: Stands, Cables, and Acoustic Fixes
Accessories don’t look exciting in a cart, but they’re the difference between “sounds okay” and “sounds like a station.” A good mic placed badly will still sound bad. A great interface with a cheap noisy cable can add hum. And an untreated room can make a $200 mic sound like a hallway. The good news: you can solve most beginner problems with inexpensive, targeted upgrades.
Beginner accessory checklist
- Boom arm or sturdy desk stand: keeps mic close and consistent.
- Pop filter or foam windscreen: reduces plosives and breath blasts.
- XLR cable (quality, balanced): reduces interference vs cheap unshielded runs.
- Shock mount (optional): reduces desk bumps and keyboard noise.
- Basic acoustic treatment: rugs, curtains, bookshelves, or a couple of foam panels near reflection points.
- Inline gain booster (optional): helpful if your dynamic mic is quiet and your interface is weak.
For radio DJs and podcasters, the boom arm + pop filter combo usually gives the biggest improvement because it enables proper mic technique (close distance) without getting in your way. For church broadcasters and live event streamers, cable discipline matters: label your lines, keep power cables separate from audio, and avoid loose adapters that can crackle mid-service.
Simple “echo fix” you can do today
If your voice sounds hollow, clap once in the room. If you hear a long ring, add soft surfaces. A thick curtain behind the mic, a rug below, and one treated wall can reduce reflections drastically—often more than swapping microphones.
Pro Tip
Place absorption behind and to the sides of the microphone (where reflections bounce back into the pickup pattern). Beginners often treat the wall behind themselves, which helps camera aesthetics but not always the mic.
Need basics fast? Start with stands, pop filters, and reliable cables from our shop, then add acoustic fixes as your space demands. These small purchases keep your whole setup stable and quiet—especially important for long-form radio shows and live events.
6) Encoder Software + Hosting: Go Live Reliably
Even with perfect equipment, your audience only hears what your encoder and hosting deliver. Encoder software turns your audio/video into a stream. Hosting keeps it online, scalable, and playable for your listeners. If you’re building a station, a church stream, or a school broadcast, this is where reliability matters most: 99.9% uptime, consistent playback, and room for growth without surprise bills.
Encoder software (beginner-friendly)
- OBS Studio: best for video + scenes; also works for audio-only with the right settings.
- Mixxx / VirtualDJ / DJ software: great for DJs; pair with an encoder or broadcast plugin.
- BUTT (Broadcast Using This Tool): simple, lightweight audio encoder.
Your streaming workflow should match your goal: audio-only radio, multi-camera church, or event streaming. If you want to “stream from any device to any device,” prioritize compatibility and simple endpoints so you can go live from a laptop today and scale to a production PC tomorrow.
Why hosting matters (and why flat-rate wins)
Many broadcasters get burned by platforms that charge by the hour, by viewer, or both. Wowza’s pricing is often expensive with per-hour/per-viewer billing, which can spike unpredictably during a viral moment or a holiday service. Shoutcast Net is built for stations that want consistent costs: flat-rate unlimited model with plans starting at $4/month, plus unlimited listeners, SSL streaming, and 99.9% uptime.
It’s also important to avoid legacy limitations common in older Shoutcast-style setups (restricted scaling, add-on fees, and rigid workflows). With Shoutcast Net, you can build modern workflows that handle any stream protocols to any stream protocols (RTMP, RTSP, WebRTC, SRT, etc) so you’re not trapped in one output format when your audience and platforms change.
AutoDJ for 24/7 broadcasting (even when you’re offline)
If you’re running an internet radio station, a school station with scheduled programming, or a church stream that needs pre-service audio, AutoDJ is the difference between “sometimes live” and “always on.” With Shoutcast Net’s AutoDJ, you can schedule playlists, rotate content, and keep listeners engaged between live shows—without leaving a PC running at home.
Example: clean, beginner audio streaming settings
Recommended starter audio settings (speech + music balance)
Codec: AAC (if available) or MP3
Bitrate: 128 kbps (stereo) for music, 64-96 kbps for talk
Sample Rate: 44.1 kHz
Channels: Stereo for music / Mono acceptable for talk
Target level: -12 dB to -6 dB average, avoid 0 dB clipping
For churches and live events where engagement depends on timing, latency matters. Aim for settings and a workflow that can deliver very low latency 3 sec where supported—especially if you’re syncing with chat moderation, stage cues, or remote participation.
Pro Tip
Don’t wait until launch day to test. Start your Shoutcast Net 7 days trial, run a private rehearsal stream, and listen on multiple networks (Wi‑Fi + cellular). Reliability is a process, not a checkbox.
SHOUTcast vs Icecast options
Depending on your player ecosystem and station tools, you may prefer SHOUTcast or Icecast. Shoutcast Net supports both: choose SHOUTcast hosting for a classic station workflow, or explore icecast hosting for flexibility in certain client/player environments. Either way, you’re backed by the same flat-rate approach and streaming infrastructure.
When you’re ready to grow beyond a single platform, build a distribution plan where your core stream stays stable and you can Restream to Facebook, Twitch, YouTube without risking surprise usage charges. That’s where Shoutcast Net’s predictable pricing and modern protocol support keeps you focused on content—not invoices.
Final Beginner Checklist (Under $1000)
- Mic: dynamic XLR or USB/XLR hybrid
- Interface or mixer: match your number of mics and routing needs
- Headphones: closed-back, comfortable, wired
- Accessories: boom arm, pop filter, good cables, basic acoustic treatment
- Optional visuals: webcam + LED key light + tidy backdrop
- Encoder: OBS/BUTT + simple level targets
- Hosting: flat-rate, unlimited listeners, SSL, 99.9% uptime, AutoDJ
If you want to go live with confidence (and keep costs predictable vs Wowza’s per-hour/per-viewer billing), start with Shoutcast Net hosting from $4/month and test everything with a 7 days trial.
Ready to broadcast?
Launch a stable station that can stream from any device to any device, scale to unlimited listeners, and stay secure with SSL streaming.